
Showing posts with label Internet. Show all posts
Showing posts with label Internet. Show all posts
HOW TO CONFIGURE WORDPRESS IN THE BROWSER
HOW TO CONFIGURE WORDPRESS IN THE BROWSER TO MAKE IT PRETTY
Complexity level: easy
#The continue part of HOW TO INSTALL WORDPRESS
This post is applied to many other web hosting services, such as DreamHost, Hostgator, GoDaddy, etc.
I demonstrate this method to the free 000webhost service in this example.What you need: your favorite internet browser with your full-Wordpress-package-installation in your web hosting server. Learn more at HOW TO INSTALL WORDPRESS.ORG TO YOUR WEB HOSTING FROM SCRATCH
What you do:
1. Access your website (or blog) via your domain name, last time, I create a free web hosting from 000webhost. You will see something like this

It will lead you to the login page, enter the username and password that you've recently created to sign in the Wordpress control page or Dashboard they called.

3. Now, you have successfully install WordPress in your web server. Try to open your website in the browser. Your will see the default page. If you are happy with the default interface, then go with it. Otherwise, follow the next step to find your best fit.
4. Back to Dashboard, choose "Appearance" tab in the left hand side.
Choose "Add New" to search for thousands of WordPress themes or templates.

5. There are many different cool themes that you can freely install into your website.
Due to we are about to create a free website (free blog), so I suggest we should go with the free option for now. As being said, when you have your content ready to get views and popular on the internet, then consider the paid options.
For this, I prefer the theme call Dazzling, you can search for it in the search box in the Dashboard or download it outside.

6. After that, click "Install"

7. After the installation process, choose Active to make the theme live in your site.
Now, we have a free pretty website.

Install useful plugins in my WordPress site.
Congratulations, your website is now up and running,
HOW TO INSTALL WORDPRESS
HOW TO INSTALL WORDPRESS.ORG TO YOUR WEB HOSTING FROM SCRATCH
Complexity level: Intermediate
#The continue part of HOW TO START A BLOG FOR FREE
This post is applied to many other web hosting services, such as DreamHost, Hostgator, GoDaddy, etc.
I demonstrate this method to the free 000webhost service in this example.
1. After you login to 000webhost CPanel, scroll down until you see the "Files" category, then choose "View FPT Details" option.


3. Download and Install a FPT software to upload or download files from the your computer to the web server. I recommend FileZilla, click here to go to its homepage. Download and Install it

5. Fill all the information, in this case, Host, User, and Password (select Normal option from the Logon Type dropdown menu) and click "Connect" button

6. Now you successfully access your web server via FPT software
7. Go to Wordpress.org to download the latest version of Wordpress software package
At the time I write this post, the latest Wordpress version is 3.8.1

8. After download complete, extract the file by right click and choose "Extract All" option
9. Go to the extracted folder, rename the file wp-config-sample.php to wp-config.php
(remove -sample)

10. Paused. Now, go back to your web hosting CPanel (000webhost in this example)
Browes to the "Software/Services" category, choose "MySQL" option

11. Fill in all the required fields and click "Create Database"

12. You will have the database created (The database is used for store your posts or content in your website)

13. Now, open the file we renamed in step 9 (the wp-config.php) with your favorite text editor. For example, I used Notepad++ (use can use the built-in Notepad text editor on Windows machine)

14. In my case, I changed:
database_name_here --> a1542665_DBname
username_here --> a1542665_name
password_here --> mypassword
localhost --> mysql8.000webhost.com

15. Save it and Close it
16. Drag all the files in the wordpress folder into the public_html folder in your web server in the FPT software

17. Wait for couple minutes depends on your internet speed until all files and folders are uploaded successfully to the web hosting server

18. Click here to see how to confirgure Wordpress from the Browser
HOW TO START A BLOG FOR FREE
START A BLOG FOR FREE [BASIC]
Complexity level: Easy
What you need: a computer with internet connection (for setting up the environment - website, or blog domain)
What you will be using: 000webhost.com Free Web Hosting Service with Wordpress.org, Free Google Blogger, and Wordpress Free Blog
What you do - to set up the environment:
I/ Go to 000webhost website, complete the registration step by filling in the require fields as the picture below. Note that you will choose the option that said "free subdomain"

II/ Check your email for confirming your sign up process
II/ Log in to 000webhost panel with your email and password that you have created above.
III/ Now, your site is active

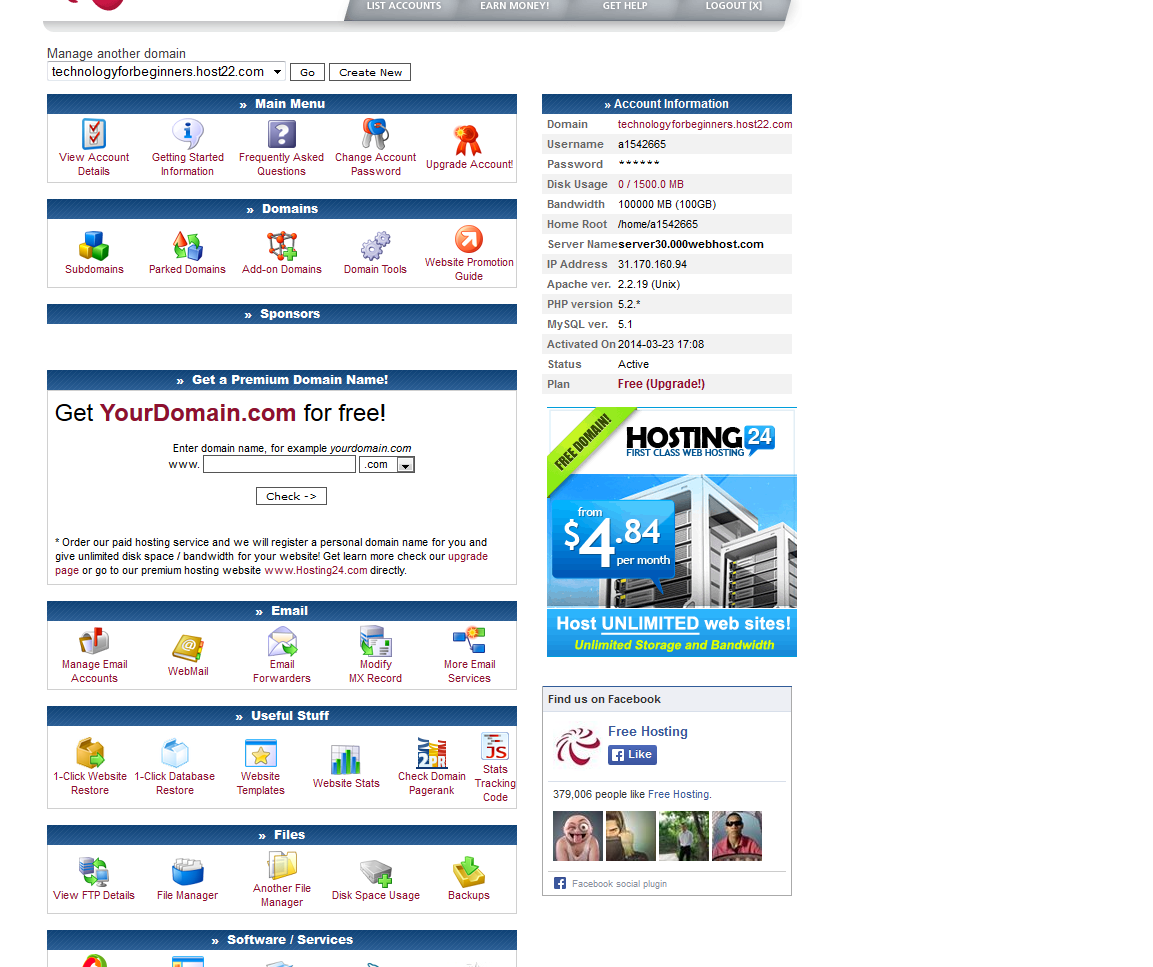
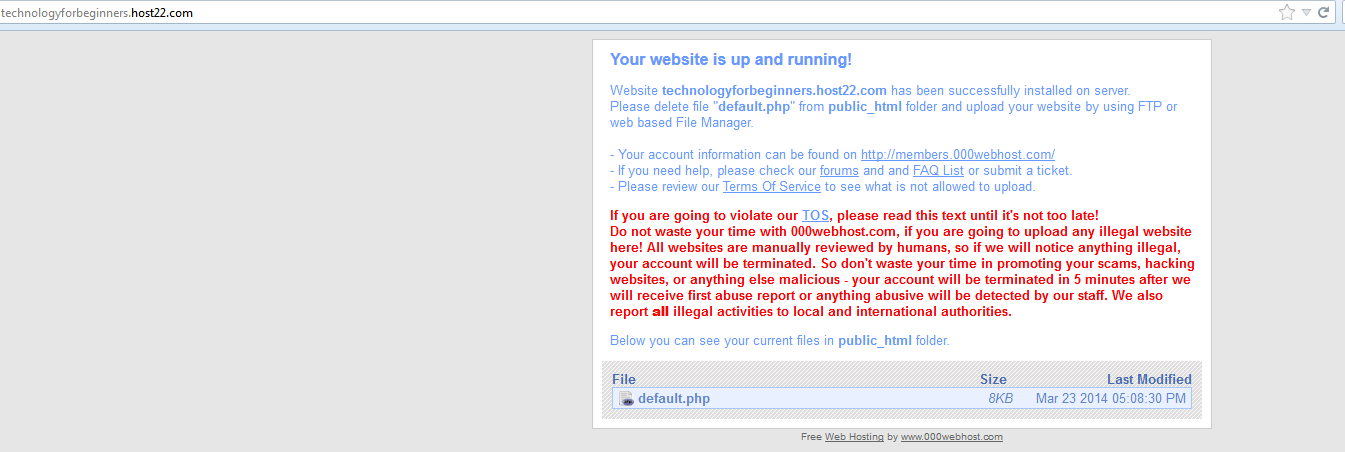
V/ Now your raw website is up and running, but there is nothing in it (I mean, when you try to access your website via your domain name, the technologyforbeginners.host22.com address in my case, for example, you will see some default parameter values that you don't need to worry just for now). It's not 'pretty' yet :)
VI/ Now, this step, we are going to make the site prettier by installing theme and add functionalities for you to easier to control your website without programming or coding involved, OK?
Then, install several useful functionality controllers to your very first website, such as comment sections and make your contents to be visible to Google Search Engine in order to have more readers or visitors to your awesome website.
*Note: Many Free Web Hosting Services. Most of them will usually provide a subdomain (yoursitename.website.com) or a directory (website.com/yousitename). If you want to expand your blog site in future, you should consider the other paid options. However, for beginners, my advice is to just focusing on something simple and free at first stage. No matter what how bad or good it is, you will lose nothing, right?
I mean, when you think you are ready to "boom" the internet with your posts (or your site's contents), then buying a web hosting is never late. The important key success is your ideas, folks. :)
Therefore, keep your blog posts or website contents locally in your computer is a must.
Therefore, keep your blog posts or website contents locally in your computer is a must.
Have fun on the internet,
Subscribe to:
Posts
(
Atom
)


